Tutorial: IT Device Catalog
In this tutorial, you’ll build a Confluence page that displays your organization’s approved device types with full specifications and a list of assigned devices for each type.
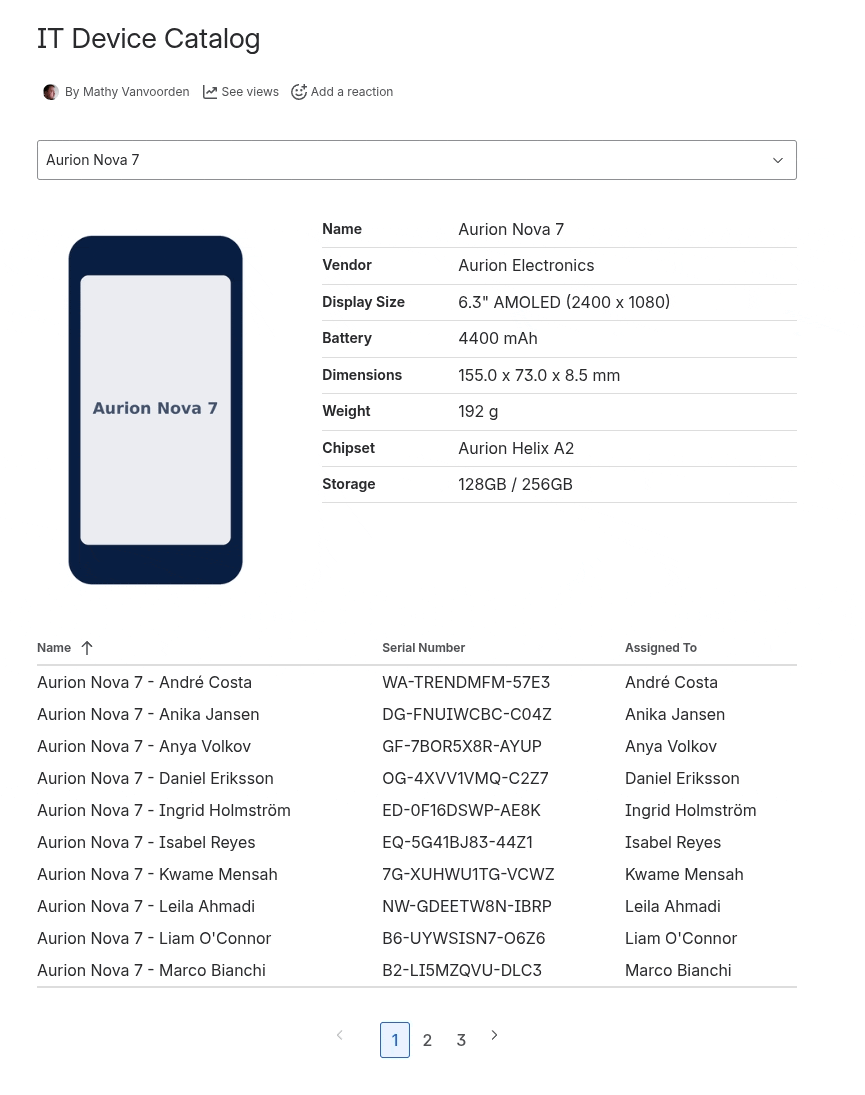
What you’ll create: A page showing a device type’s full specification sheet and photo, a table of all devices of that type, and a dropdown to switch between device types.
Prerequisites: An object schema in Jira Assets with “DeviceType” and “Device” object types. DeviceType should have attributes like Name, Vendor, Display Size, Battery, Chipset, Storage, and Photo URL. Device should have attributes like Name, Serial Number, and a reference to DeviceType.
Step 1: Create the Filter
- Edit a Confluence page
- Insert a Beautiful Assets Filter macro
- Configure it:
- Name:
Device Catalog - Schema: Select your schema (e.g., “Company Directory”)
- Object Type: Select “DeviceType”
- Name:
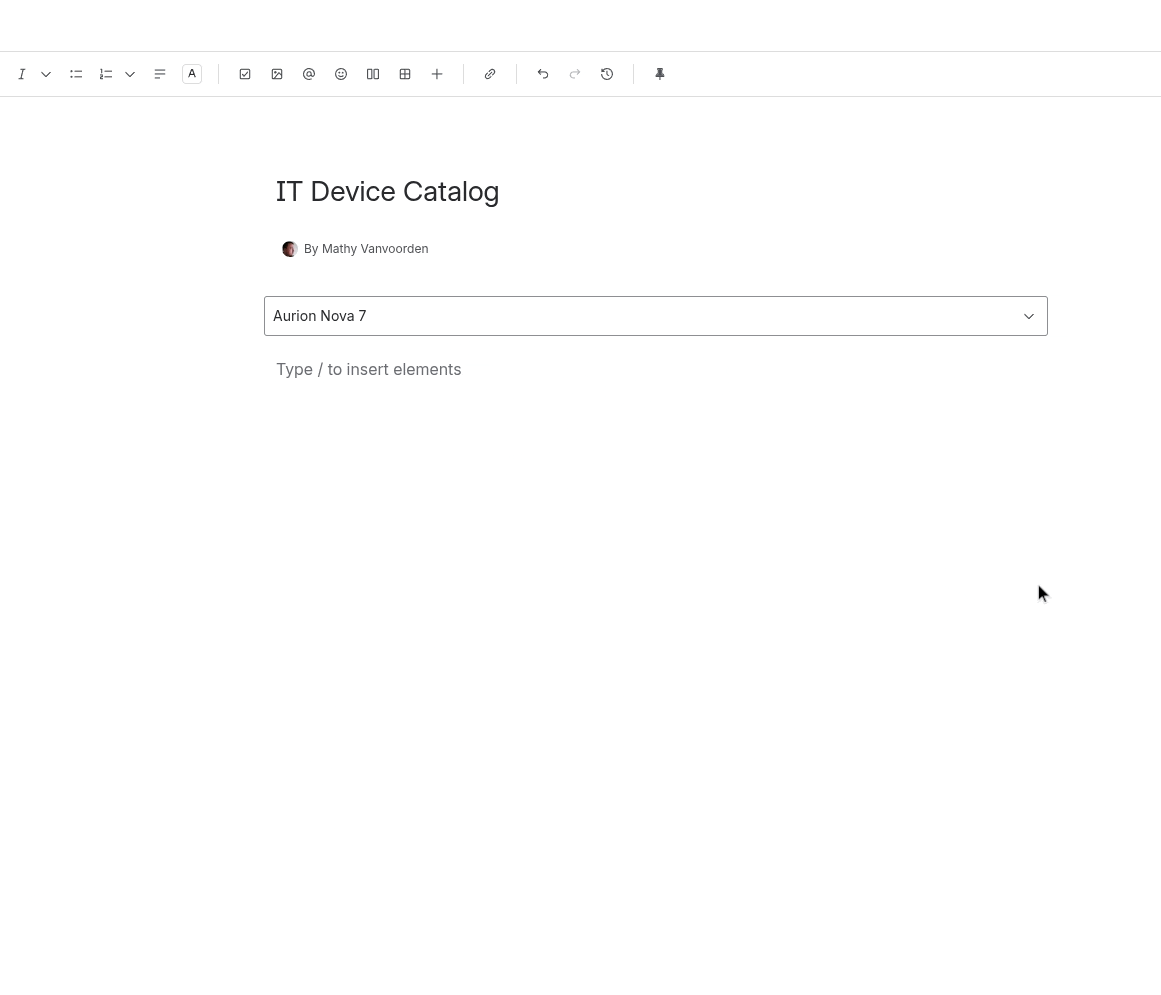
- In the Results Preview, verify you see your device types
- Check “Show object selection in View Mode” to add a dropdown so viewers can pick a device
- Click Save
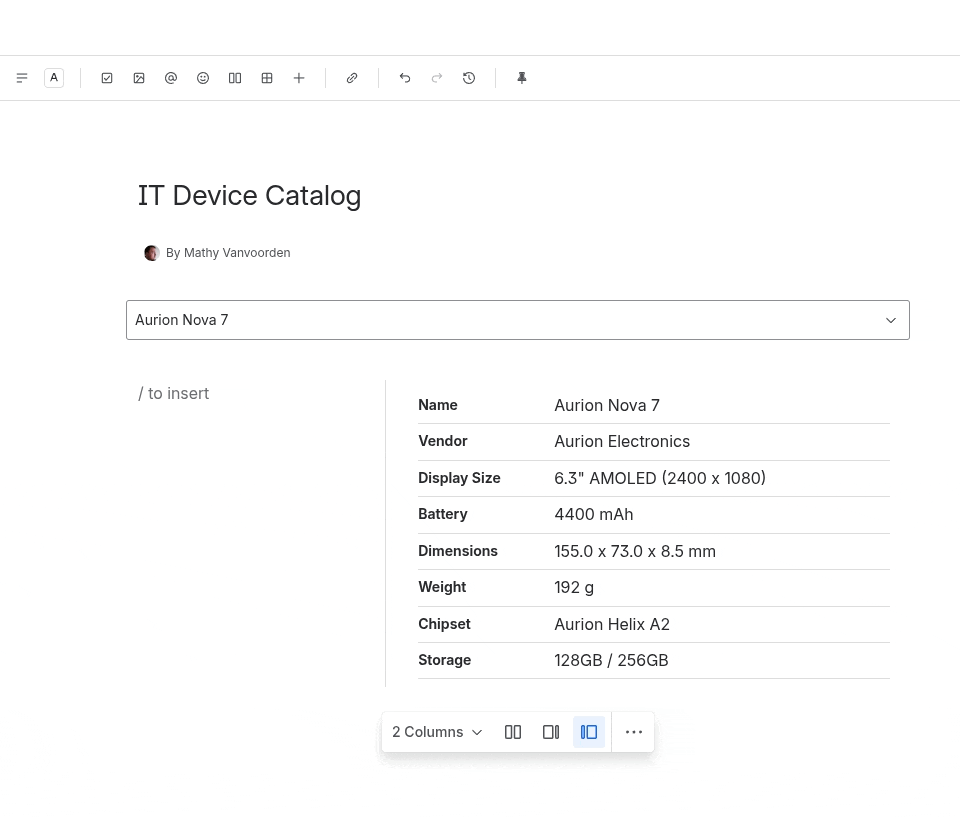
Step 2: Add a List Macro for Specifications
Add a detail section that shows the full spec sheet for whichever device type is selected.
- Insert a Beautiful Assets List macro
- Select the “Device Catalog” filter
- Add attribute rows:
- Name
- Vendor
- Display Size
- Battery
- Dimensions
- Weight
- Chipset
- Storage
- Click Save
The List macro displays attributes in a vertical key-value format. When a viewer selects a different device type from the dropdown, the list updates automatically.
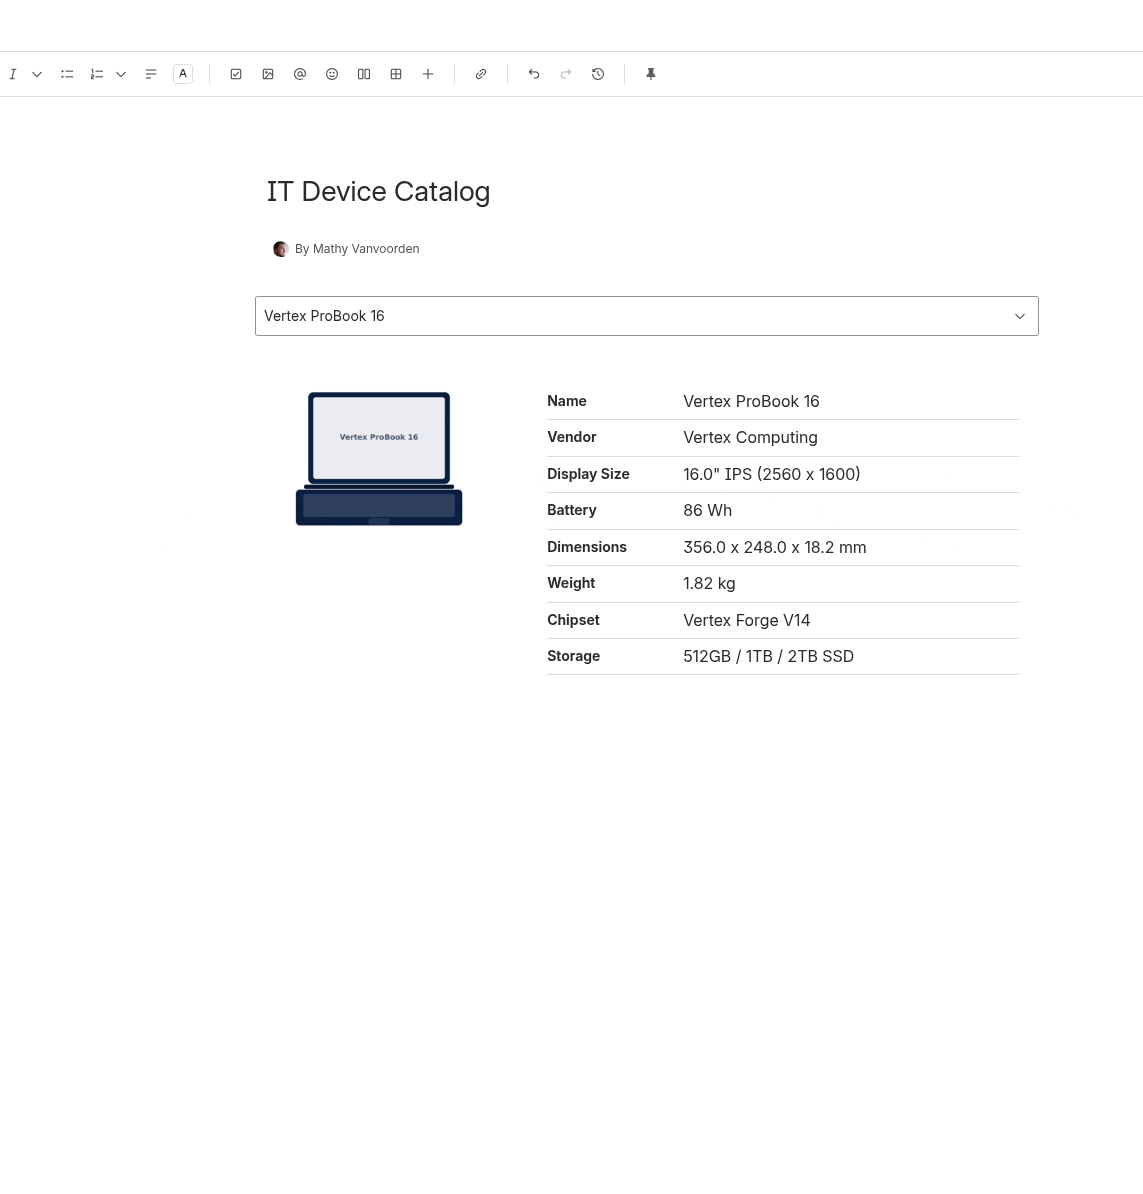
Step 3: Add an Image Macro
- Insert a Beautiful Assets Image macro
- Select the “Device Catalog” filter
- Select the “Photo URL” attribute
- Click Save
The device photo displays next to the specifications. It updates when the viewer selects a different device type.
Note: Only images from allowed domains will display.
Step 4: Add a Device Filter
Now create a second filter that shows all individual devices of the selected type. This filter does not need object selection because it just feeds data to a table.
- Insert another Beautiful Assets Filter macro
- Configure it:
- Name:
Devices of Type - Schema: Select your schema (e.g., “Company Directory”)
- Object Type: Select “Device”
- Add a rule: set the attribute to
Device Type, the operator tomatchesFilter, and selectDevice Catalogfrom the dropdown. This references the first filter, so the results update when a different device type is selected
- Name:
- In the Results Preview, verify you see devices matching the currently selected type
- Leave “Show object selection in View Mode” unchecked
- Click Save
Step 5: Add a Table Macro for Assigned Devices
- Insert a Beautiful Assets Table macro
- Select the “Devices of Type” filter
- Add columns:
- Name (the device identifier)
- Serial Number
- Assigned To (who the device is assigned to)
- Click Save
The table displays all devices of the selected type with sortable column headers.

Step 6: Publish and Browse
- Click Publish
- The page shows the first device type’s specifications, photo, and assigned devices
- Use the object selection dropdown to pick a different device type. The List, Image, and Table macros all update automatically
Final Result
Your page now has:
- A dropdown to browse device types
- A full specification sheet for the selected device type
- A device photo
- A table of all individual devices of that type with serial numbers and assignments
All data is fetched live from Jira Assets on each page load.