Getting Started
This guide walks you through installing Beautiful Assets and creating your first page with live Jira Assets data.
Prerequisites
- A Confluence Cloud instance with Jira Service Management (or Jira Assets)
- At least one object schema with objects in Jira Assets
- Admin access to install apps (or ask your admin)
Step 1: Install from the Atlassian Marketplace
- Go to Confluence Settings > Find new apps (or visit the Atlassian Marketplace)
- Search for Beautiful Assets
- Click Install and follow the prompts
- The app is now available in the Confluence macro browser
Step 2: Add a Filter Macro
- Open a Confluence page and click Edit
- Type
/Beautiful Assets Filteror open the macro browser and search for it - Insert the Beautiful Assets Filter macro
The filter configuration panel opens automatically.
Step 3: Configure the Filter
- Enter a Name for your filter (e.g., “Employees”)
- Select an Object Schema from the dropdown
- Select an Object Type (e.g., “Employee”, “Computer”, “Server”)
- Optionally add filter rules to narrow results (e.g., Status = Active)
- Check the Results Preview to verify you see the expected objects

- Click Save
Step 4: Add a Display Macro
- Below or next to the filter macro, type
/Beautiful Assets Text(or any other display macro) - In the macro configuration:
- Select the filter you just created from the Filter dropdown
- Choose which attribute to display (e.g., “Name”, “Email”, “Department”)
- Click Save

Step 5: Publish and View
- Click Publish on the Confluence page
- The filter fetches data from Jira Assets and the display macro shows the attribute value
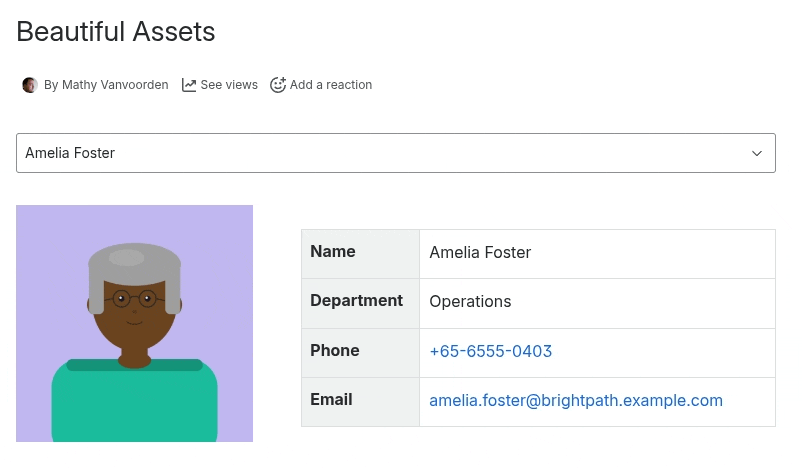
If the filter returns multiple objects, consider enabling object selection on the filter. This adds a dropdown on the published page so viewers can browse through objects.
What’s Next
- Add more display macros: Phone , Email , Image , Table
- Follow a complete tutorial: Employee Directory or IT Device Catalog
- Learn about advanced filtering for complex queries